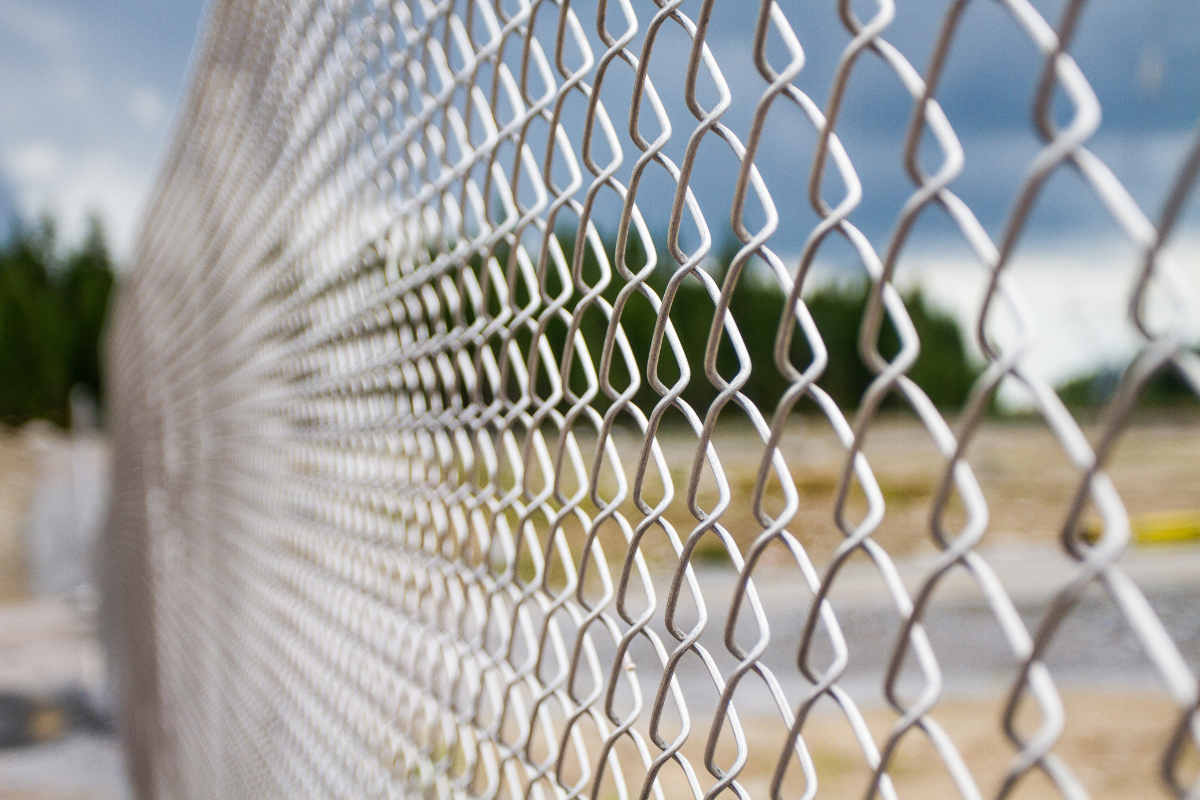
Chain link looks simple from a distance, but anyone who has repaired a bent panel or a torn run of mesh knows it has its own quirks. You can’t just slap in a patch and walk away. The pattern needs to stay true, the tension has to land in the right place, coatings must be intact, and the line has to read straight when you sight down the top rail. Done right, a repair disappears into the fence. Done badly, it telegraphs from the street.
I have spent years repairing chain link fencing on everything from schoolyards to pump stations, and the difference between a quick fix and a lasting repair often comes down to small choices. This guide walks through how pros approach broken sections to keep the fence functional, compliant, and visually consistent.
What usually breaks, and why it matters
Chain link fencing fails in predictable ways. Mesh gets cut by thieves, kinked by fallen branches, or twisted by kids climbing where they shouldn’t. Rails buckle when a vehicle nudges a post or when frost heave pushes a terminal out of plumb. Bottom tension wire snaps where it rubbed over a rock for five winters. Sometimes the wrong gauge or a budget coating was used during chain link fence installation, and the fence aged faster than it should.
Each failure affects the system differently. A torn diamond pattern compromises security and invites more damage, since loose wire catches clothing and gets pulled. A bent top rail transfers stress to nearby posts, sagging the line and loosening ties. A leaned terminal changes tension across an entire run. Decisions about repair scope flow from that diagnosis. Replace a few feet of mesh if the break is localized. Replace a rail and re-tension a full span if the top line is crooked. Straighten or reset posts when alignment issues are structural, not cosmetic.
How to read a fence before you touch it
I start with a slow walk on the side with the best light. Sight along the top rail. If you see a flat spot, check the adjacent posts and terminals. Gently push the fabric; tight fabric rebounds like a trampoline, while a slack section has a dull give. Look at how ties are placed. If ties are spaced far apart or twisted the wrong way, the fence probably saw prior amateur repairs.
Check coatings, because that informs the repair plan. Galvanized fabric that has dulled uniformly and shows white oxidation behaves differently than vinyl-coated fabric where the jacket may split under a sharp bend. If you find rust bleeding from cut ends, plan to seal them. If there is barbed wire or a top tension wire, factor that into how you will relieve and restore tension.
Measure gauges and diameters. Chain link fencing comes in a range. Common residential fabric is 11 or 11.5 gauge with a 2 to 2.25 inch diamond. Light commercial might be 9 gauge. Rails are usually 1-3/8 inch for residential, 1-5/8 inch for heavier use, with terminals often 2-1/2 inch or more. Matching components avoids a patchwork look and reduces rattling. A good chain link fence contractor carries joiners and splices sized for these standards.
The invisible repair mindset
The goal is to make the repair fade into the original fence. That starts with matching materials and ends with careful tensioning and tie placement. I’ve seen great material choices ruined by uneven tension or ties that interrupt the visual rhythm of the diamonds.
A few principles guide seamless work:
- Maintain the diamond count and orientation across the repair. If you add or remove a half-diamond, the pattern telegraphs the change. Keep the rail line straight. Use a string line for longer spans. Even a quarter inch of dogleg shows. Match the fastening rhythm. If the original installer used ties every 12 inches on the top rail, do the same. If the bottom wire was clipped every second diamond, replicate it.
Tools and consumables that save time
You do not need a truck full of specialized gear, but a few tools make repairs faster and cleaner. I carry a pair of Knipex fencing pliers, bolt cutters sized for 9 gauge fabric, a hacksaw or reciprocating saw for rails, a ratchet puller or come-along, a wire stretcher for tension wire, and a couple of rail sleeves. For terminals, having extra brace bands, tension bands, carriage bolts, and a spare tension bar prevents a mid-job material run. If vinyl-coated materials are involved, keep touch-up paint or compatible sealant on hand to protect cuts.
Replacing a damaged mesh section without a trace
Torn fabric is the most common call for chain link fence repair. If the posts and rails are intact, the repair resembles surgery: precise cuts, careful weaving, and clean closure.
The workflow looks like this in practice:
- Relieve tension. If the damaged area sits between terminals, you can often avoid loosening the entire run. Remove the tie wires along the top rail in the affected span and reconsider the bottom wire. If the bottom wire holds the fabric tight, unclip it locally. Where a tension bar is nearby, you may back off a few bands and slightly relax the fabric to give yourself slack. The aim is to prevent fighting springy wire while you weave. Extract the damaged diamonds. Identify a vertical line where you want to separate the mesh. Follow one strand up and down, snipping its knuckles so the strand can be unwound like a zipper. People rush this step and end up with ragged edges. Take the time to align your cut so the remaining edge has full diamonds ready for a clean weave. Prepare the replacement panel. Cut a piece of matching fabric slightly taller and one diamond wider than your opening. That extra strand is the stitch you will weave to marry the new piece to the existing field. If the fence is 6 feet tall with a top rail and bottom wire, cut the panel about 1 inch taller than the space to allow for small adjustments and trimming. Weave in the panel. Set the new piece in place with the diamonds aligned. Remove one vertical strand from the new piece to create the interlacing strand. Start at the top and twist the strand through, alternating sides. If you keep even hand pressure and check alignment every foot, the seam virtually disappears. On vinyl-coated mesh, take care not to scrape the jacket off the weaving strand. Re-establish tension. With the panel woven, re-tie the top rail starting at the seam and working out. If you released a tension bar, reinstall it, setting the fabric snug at the terminal. Clip the bottom wire back into the diamonds on the same rhythm used elsewhere. If you need a touch of extra tautness, use a come-along across the top rail or a temporary clamp on the fabric to ease out slack before making the final ties. Finish and seal. Trim any protruding wire ends back to safe lengths, about an eighth of an inch beyond the twist, then tap down so they don’t snag. On galvanized fabric, cold galvanizing compound on fresh cuts helps. On vinyl-coated, dab compatible coating on bare metal to prevent rust blooms.
Anecdotally, I once repaired a warehouse fence where someone had overlapped a patch panel and tied it off without weaving. It looked like a quilt and creaked in the wind. We unwove it and redid the seam; afterward the plant manager walked the line twice and still missed the repaired section.
Straightening or replacing a bent top rail
A bent top rail shows up as a flat spot where the fence got leaned on or hit. If the bend is shallow and the rail isn’t creased, you can sometimes cold-straighten in place. More often, you cut out the damaged section and splice in a new piece, which is fast if you have rail sleeves.
Here is the practical approach:
- Support the fabric. Remove ties along the damaged rail section and, if needed, temporarily tie fabric to the line posts with soft wire or rope so it doesn’t sag into the work area. Assess whether to straighten or replace. If the dent is less than a quarter inch deep and the rail spring is intact, padded clamps and careful leverage can bring it back. For creases or kinks you can feel, replacement is cleaner and avoids hidden cracks. Splice with a sleeve. Cut the rail square on both sides of the bend, ideally between posts to avoid disturbing hardware. Deburr the ends. Slide a rail sleeve halfway onto one side, insert the replacement length, then slide the sleeve so it bridges the joint evenly. Self-drilling screws through the sleeve into the rail prevent rattle in windy sites. Restore ties. Match the tie spacing you found earlier. Twist ties to the inside of the property unless security policy dictates otherwise. If the fence has barbed wire arms, verify their angle and height against the rest of the line before final tightening.
For long runs, a string line from terminal to terminal helps keep the top rail dead straight. The eye picks up deviation faster on top rails than on bottom wires.
Handling a fallen or out-of-plumb post
If one line post shifts a half inch, you can sometimes fudge the rail and fabric to hide it. A terminal post out of plumb, especially at a gate, deserves a proper reset. Chain link fencing services that rush past a leaning terminal inevitably revisit the site when tension loosens or a gate binds.
For a line post with a shallow shift, loosen the rail end, slide the post cap off, and gently bring the post back into alignment by excavating a wedge on the push side and tamping material on the pull side. For more than a degree or two of lean, dig out the footing. On older installs without concrete, compacted gravel might allow a quick reset. On concrete-footed posts, plan on breaking and replacing the footing. A standard rule of thumb is footing depth at least one third of the above-grade height, with diameter around three times the post width, adjusted for frost line and soil.
When you reset, watch height. A post that ends up an inch low forces ugly shims at the rail end or tight diamonds at the bottom. To avoid that, dry fit the rail and fabric height while the new footing is still green and can be adjusted. Many chain link fence contractors will brace a terminal with a 2x4 and a screw clamp until the mix sets, checking plumb from two directions.
Matching materials so the repair lasts
A seamless repair is partly visual, partly chemical. Mixing a new 9 gauge galvanized panel into a faded 11 gauge fence is visible, but even worse is mismatched coatings. Galvanized conflict arises when you cut and combine panels with different zinc weights. Heavier G90 or hot-dipped fabric will outlast electro-galvanized replacements. In coastal or industrial areas, that difference shows up in as little as 3 to 5 years. If the fence sees salt spray or fertilizer dust, upgrading the repaired section to vinyl-coated over galvanized often pays off, but then you need to transition cleanly.
When vinyl-coated fabric meets bare galvanized, I prefer a longer seam so the eye doesn’t see a short, contrasting patch. Alternatively, replace from terminal to terminal if budget allows. For fasteners, use galvanized or stainless to match the environment. A single box of plated, non-galvanized ties looks fine on day one and rusts by year two, staining the fabric beneath.
Gauge and diamond size matter for function, not just looks. A dog run with 11.5 gauge fabric is fine for smaller breeds. For larger or determined dogs, stepping up to 9 gauge reduces stretching. On ballfields, backstops take repeated impacts; if you replace a section after a foul ball crease, consider whether the original gauge was undersized. A reputable chain link fence company will carry or source proper gauges rather than trying to force-fit what is on the truck.
Dealing with security features without weakening them
Many commercial fences include a top tension wire, barbed wire, or razor ribbon. A sloppy repair can create a weak point offenders target. When you release ties on a security run, maintain control of the top wire so it does not unravel or sag. If you must remove barbed wire arms to rework a terminal, mark their original angle and reinstall with new hardware if any band shows stress. Replace stripped carriage bolts; a wrench with a rounded head is an invitation.
If the fence includes bottom rail instead of tension wire, damaged sections often hide water accumulation and rust. When you cut out a bottom rail length, inspect each post sleeve for rot. If you see deep flaking, replace the sleeve or the rail section well past the visible rust to re-establish strength.
Weather, season, and soil considerations
Chain link behaves differently with temperature. On a hot day the fabric expands a touch. If you tension to drum-tight at 95 degrees, you may hear pings and find broken ties come winter. In cold weather, fabric is stiffer and less forgiving while weaving. I favor a moderate tension year-round, then revisit with a few additional ties on a warm day if a winter repair looks slightly slack in spring. In frost-prone regions, avoid digging post footings during a thaw that leaves muck at the base. Set on firm ground or wait a day; a footing on soup will settle.
Wind is another factor. On open sites, fences act like screens, especially with wind slats. If you are repairing a slatted section, remove slats near the work area to reduce sail effect while you loosen ties. Reinstall once tension is restored. For coastal jobs, I add a few extra aluminum ties on the windward side. Aluminum ties work harden more slowly in vibration than some steel ties.
Cost and time expectations that help plan the job
Clients often ask for a quick ballpark so they can decide between a spot repair and a longer replacement. Every market is different, but you can use ratios. Replacing a small panel of fabric, say 4 to 8 feet wide, usually takes one tech 1.5 to 3 hours when all materials match and access is clear. Add time for vinyl-coated fabric or heavy gauge. A top rail splice adds 30 to 60 minutes. Resetting a terminal post with a new footing often turns into a half-day affair, longer if excavation is tricky.
Material costs scale with gauge and coating. Residential galvanized fabric might run a few dollars per linear foot for the raw material. Vinyl-coated, especially in non-stock colors, jumps notably. Rail sleeves and hardware are inexpensive compared to labor. Most chain link fencing services bundle labor and materials; ask for clarity on whether they will match gauge and diamond size exactly or use what is stocked. The best contractors will say when a small repair is false economy and quote a terminal-to-terminal replacement.
Safety and small practices that prevent injuries
The work looks benign until you snag a forearm on a wire burr or a tie snaps. Wear gloves with good dexterity. Keep bolt cutter jaws sharp so you do not twist wire ends into springy hooks. When you unwind a strand, cap the coil, do not drop it loose; coils unwind themselves when stepped on. On sites with public access, use cones or temporary barricade tape to steer people away. I have seen more than one jogger walk into a rail held at shoulder height during a repair. A minute of hazard marking avoids a lot of paperwork.
Ladders and step stools tempt when reaching a high top rail, but a small platform or a stable A-frame is safer. If barbed wire is above, drape a heavy towel over the nearest strand while you work to avoid a scalp cut.
When to call a pro instead of DIY
Handy owners can handle small tears and a single rail splice with basic tools. Call a chain link fence contractor when:
- A terminal post is out of plumb or the gate won’t latch after impact. The fence includes security hardware, electric sensors, or integrated privacy panels that complicate disassembly. The damage spans more than a third of a panel or repeats across several bays, which suggests a systemic issue. Matching material is crucial, such as on a facility with color-specified vinyl coating. The site has underground utilities near posts. Contractors will arrange locates and dig safely.
A good chain link fence company also brings efficiency. Two techs who do this daily will weave a panel in minutes that might take a homeowner an hour, and they will carry the rail sleeves and odd hardware that save extra trips.
Gate-specific repairs and alignment tricks
Gates take abuse. A sagging chain link gate usually traces back to a failed hinge, a pulled latch-side post, or a stretched frame. If the gate leaf itself is square, you can often restore function without replacing the leaf.
Check hinge alignment first. On bolt-through strap hinges, tighten and realign so the top and bottom hinges are in the same vertical plane. If the gate leaf drags, raise it slightly using hinge adjustment or by adding a small shim behind the lower hinge strap. Ensure the latch receiver lines up and the latch engages fully without forcing.
If the gate frame is racked, diagonal bracing helps. Many frames include a cable and turnbuckle. Tighten the turnbuckle on the low-to-high diagonal to raise the sagging corner. If there is no brace, adding one is a thirty-minute job that can extend the life of the gate by years. Replace bent frame rails with sleeves similar to top rail repairs, but be mindful of latch hardware clearances.
For double-swing gates, center drop rods often get bent. Replace with a heavier rod and add a proper ground receiver rather than a shallow hole. A rod with a defined cup reduces wobble and keeps the leaves from slamming in wind.
Privacy slats and windscreens complicate repairs
Privacy slats and windscreens change repair physics. Slats add stiffness to the fabric, which helps hide small misalignments but increases wind load. When weaving a panel with slats, pull the slats in the affected area first. Weave the new fabric, restore tension, then reinstall slats. If the fence carries a full-height windscreen, have a helper. Remove enough screen to relieve pressure before you pull ties. Reinstall with new zip ties rated for UV, spaced as originally installed. Cheap ties fail in a season, and then the screen flaps, chafing the fabric and ties.
A note on codes and property lines
Repair work rarely triggers permits, but height, barb arms, and setback rules still apply. If a repair involves raising the top rail or adding barb where none existed, check local code and any association rules. On property lines, be careful about pushing bowed fabric back to the true line if the bow has existed for years. An accidental encroachment can become a neighbor dispute. Taking photos and marking offsets before you begin helps resolve questions later.
Quality checks before you leave the site
Before calling the repair complete, I run a set of quick checks:
- Sight the top rail and fence line from both ends for straightness and pattern continuity. Tug the fabric near the seam. It should feel as tight as adjacent areas, not drum-tight and not slack. Run a glove along the seam and ties to find burrs or long wire ends, then snip and bend down as needed. Confirm tie spacing matches original practice. Inconsistent spacing reads as patchwork. If a gate is involved, open and close it multiple times. Watch for latch engagement and near-miss scraping on the ground.
A neat, sealed seam and a straight rail do more than look good. They shed water better, vibrate less in wind, and resist vandalism because they do not advertise a weak spot.
Choosing the right partner for larger repairs
If the job is beyond DIY, look for chain link fencing services that ask the right questions. They should ask about gauge, coating, height, and whether the fence has barb or windscreen. They should be willing to match existing materials and show you a sample if there is doubt. Ask how they will handle tensioning, and whether they will reset posts or shim them. An honest chain link fence contractor will tell you when replacing terminal-to-terminal is smarter than piecemeal fixes, especially when you have multiple adjacent failures.
Expect a clear scope, including disposal of old material. Loose coils of cut fabric are more than a nuisance; they are a https://claytonegik640.timeforchangecounselling.com/reliable-chain-link-fence-repair-services-near-you hazard if left behind. A reputable chain link fence company will haul debris and leave the line tidy.
Keeping future repairs off the calendar
You can extend the life of repairs with small habits. Walk the fence once or twice a year. Retie any loose top rail ties before the area grows slack. Touch up bare metal. Trim vegetation off the bottom wire so it does not trap moisture. Avoid hanging heavy items on the fence, which stretches diamonds over time. If you have windscreen, remove it ahead of predicted storms when possible, or at least cut relief flaps. For sites with chronic impact risk, like parking areas, consider bollards or wheel stops to keep vehicles off the line.
Chain link was designed to be maintained. The modular nature of fabric, rails, and posts means you can restore strength and appearance without replacing everything. With the right tools and a patient approach, broken sections can be mended so convincingly that only the person who fixed it will ever find the seam.
Southern Prestige
Address: 120 Mardi Gras Rd, Carencro, LA 70520
Phone: (337) 322-4261
Website: https://www.southernprestigefence.com/